Integration Of Yammer with SharePoint 2010 Server.
In this post, we are going to see how to integrate the yammer with SharePoint 2010 step by step
- Extract the file provided by Yammer to a directory on a SharePoint web-server (for example C:\YammerSP).
- Browse to the folder where you extracted the zip above.
- Browse to the “Installer” folder.
- Run the Setup application.
- You must complete each step in the wizard to successfully
deploy the Yammer Web Part.

When finished, each of these items should have a green check. For any that remain orange, Need to troubleshoot that and make sure all are in Green.

Both solutions must be installed for Yammer to operate.

Validation Checks completed successfully then select next.

Select the list of web application to which yammer feature require to activate. For first time choose Central Admin as well with user based web application.

will get the below screen once yammer feature installed.

Like Yammer feature, Asset solution have its own validation. Once it passed asset solution also get installed.


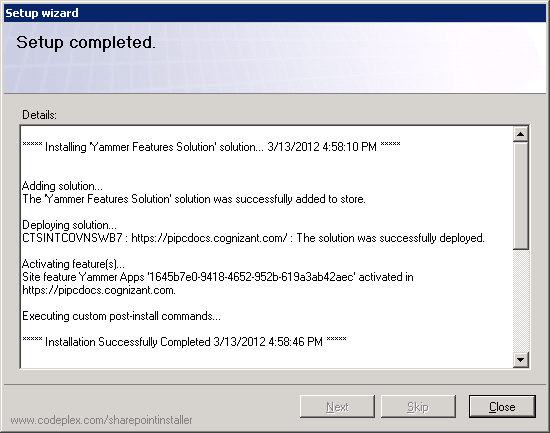
Finally we got Setup Completed Screen.
- Once the feature installed, Login to SharePoint central Admin.
- Select Application Management -> Manage Web Applications.
- In right side corner in top of the ribbon, can see the yammer icon.
- Select it and configure it as per the account details which is actively available in Yammer.


No comments:
Post a Comment